The Situationists' Walkman - A deep dive into Apple's PHASE audio engine.
A guest post by Tim Cowlishaw.
One of the challenges we encountered during the CIF2021 R&D whilst working on the Situationist’s Walkman was getting Apple’s PHASE spatial audio engine functioning as part of our project. We’ve written elsewhere about the more general technical challenges involved in the project, but we felt that it’d be worth writing in more detail about this specific aspect, not least because one of the principal challenges we faced was the lack of written introductory documentation (or open source examples - we think we might be the first!) anywhere else online.
Therefore, I’m going to take you step-by-step through everything we did to get up and running with PHASE - first as a little spike to evaluate its suitability for our project, and later to more fully integrate it into the AR experience we developed. This article is fairly code-heavy and definitely aimed towards developers or anyone else working on the technical implementation of an experience using PHASE, but there’s also information that might prove useful for folks who are more focused on audio too, so I’ll do my best to make sure it’s followable without needing to read or understand the code excerpts. Our process (and the code) very closely follows the process outlined in the WWDC21 presentation video introducing the new API, so if you’ve already worked through that you might find a lot of this familiar. However, as well as thinking it’d be useful to have a written tutorial and working code examples up online, we also encountered a few gotchas that weren’t (to us) obvious from the video, so hopefully there’ll be useful information here even if you have already seen the video. Finally, for folks specifically interested in using PHASE in their AR applications and experiences, we’ll provide details on the particular integration points you’ll need to pay attention to in that particular use case, as well as a little bonus on integrating the head-tracking functionality available in the 3rd generation, Max, and Pro versions of the Apple Airpods earphones.
Firstly, a brief introduction to PHASE. PHASE stands for Physical Audio Spatialization Engine, and was developed to provide immersive sound environments for games, applications, and xR experiences. This (other) video provides a decent non-technical overview of what that entails. The key words here are SPATIALization and PHYSICAL: Spatial audio refers to the ability to place and move sounds in a virtual environment, as well as to move the listener within this virtual environment, with sounds appearing to emanate from their positions relative to the listener (this doesn’t require a special surround-sound speaker setup - just a pair of normal headphones, via the magic of Binaural reproduction and HRTFs), and _physical _refers to the ability to model physical properties of that environment such as reverberation and occlusion. The particularly exciting thing about PHASE, from a creative perspective, is that it allows us to use these tools interactively - to produce spatial audio experiences that change over time, and adapt procedurally or in response to user interaction, all within a common consumer technology platform. However, working with these tools requires both familiarity with the APIs available and their underlying concepts, as well as approaches to mixing and producing audio that are not necessarily obvious from a more traditional audio background. We’ll attempt to summarise all these aspects below.
PHASE is pretty standalone, and isn’t coupled to Realitykit / Scenekit or any other framework for UI, AR, VR or gameplay. As such, while getting started with it is a little complex, the general process shouldn’t vary too much depending on the context in which you use it. The code I’m going to show you is taken from one of our early audio AR experiments - see this revision of this file to see it in-situ. It’s an iOS app written in Swift using UIKit, ARKit and Scenekit, so you might have to adjust a few things depending on your own circumstances, but once you’ve finished reading it should be obvious what needs to be changed. To get started, you will need an instance of a PHASEEngine class - this represents the entirety of your sonic environment and handles all the lifecycle, coordination and DSP required - you will very probably only need one of these in your entire app. In our case, we had a single UIKit UIViewController which handled our app’s AR View, and was the only view which would be making sound, so it made sense to make the PHASEEngine an instance variable on that controller, and instantiate it in the onViewDidLoad method:
The first thing you’ll notice is that this engine is instantiated with an updateMode argument. This refers to the strategy PHASE uses to make updates to its internal state in response to changes we make to its configuration (such as the positions of sound emitting objects or the listener). We’ve elected to delegate the responsibility of timing these updates to the PHASE engine itself, which will schedule them automatically, but in cases where performance / latency is super critical, you can choose to handle these manually, we won’t go into the details of that, mostly because we haven’t tried it ourselves!
The phaseEngine also needs to be explicitly started, at which point, in theory, it would start outputting audio, had we actually set up an audio environment for it to output. We’ll get onto that in a second, but first one more bit of housekeeping:
…when we’re done with PHASE, we need to explicitly stop it, which will stop audio and tear down its state. Since the audio environment in our app only exists within the context of this View, we do that in the viewWillDisappear callback.
One useful thing to know (and of particular interest to those from more of an audio background, is that the PHASEEngine can be configured with a Reverb preset, you can choose from several included for different types of environment:
The important thing to note here is that this is set for the global PHASEEngine object, so it applies across your entire environment, you can’t therefore have different reverberation qualities in different areas of your simulation, or applied to different sound sources. Happily, as we’ll see later, you do at least have the ability to set the reverb send level per-source, so if you need different sound sources to sound more or less wet or dry, this can be achieved no problem.
Now, we can get on with creating our sound environment, and the first thing we will need within it is a listener, using the class PHASEListener. This might seem slightly superfluous coming from a traditional audio background based on mixing sources in stereo, where the listener can be safely assumed to be roughly between the two speakers. In an audio environment such as we’re going to define with PHASE, the listener can be positioned anywhere, facing in any direction, and can move! Therefore, we need to model their position within the environment in order that the PHASE engine can render a mix which corresponds to what they would be hearing at that point:
We also stash this listener object away in an instance variable, as we’re going to need to access it again when we come to update the listener position later, and add it as a child of the rootObject of the engine. This gives us an important clue about how PHASE’s environments are structured - they’re basically a hierarchical tree of objects, which can perceive sound (like listeners), emit sound (sources), or interfere with it (like occluders, which we won’t cover here).
We’re now ready to start adding sound sources. In our case all our assets were pre-rendered as mp3s and included as assets in our application bundle. We’ll now show you how to load an asset and add it to the environment, as well as giving you an overview of the types of control you have over how each sound behaves within the environment. This isn’t quite as simple as it sounds though - there’s a lot of different levers and options that can be configured, and a fairly complex graph of objects that need to be plumbed together. In our own app we ended up writing a couple of classes that abstract over a lot of the PHASE internals, in order to be able to compose our app of simpler, configurable sound sources in a way that is hopefully a little easier to reason about. For now though, I’ll go through everything step by step, first we’ll need a reference to the sound asset in our app bundle which we want to add as a source:
This needs to be registered with the phase engine’s assetRegistry, which manages all the objects used by PHASE:
The most important things we learned here is that the url must not be nil, and must point to an existing audio asset that PHASE can read, and that the identifier must be non-nil and unique. These might sound obvious, but PHASE crashes in a profoundly cryptic and non-obvious way if any of these things are untrue, which caused us several hours of head-scratching. Therefore a sensible first step, if faced with any mysterious crashes, is to double check that you’re registering all your assets properly.
We’ll gloss over the other options here, they’re well explained by the docs, apart from to say that the above is probably a useful starting point for working with mono or stereo sources. To work with multichannel audio, you’ll need to pass a channelLayout explicitly to tell PHASE how to interpret it, but for mono and stereo this can be derived automatically, hence passing nil.
We now have to instruct PHASE how to position and play the audio file we’ve registered. Recall that a PHASE environment is a hierarchical tree of objects representing the entities in that environment, so we have to add a node to this tree which handles playback of our sound asset. The type of node which plays an audio file is a Sampler node, and therefore to create one, we need to instantiate a PHASESamplerNodeDefinition, which defines that node. However, this definition depends on quite a few other objects, the role of which isn’t necessarily obvious until you’ve wired them all together. For that reason, I’m going to work through the following process backwards, starting with the sampler node definition, and working back through its dependencies, explaining them as I go. Obviously this doesn’t make this post particularly cut-and-paste-able, but hopefully will make the purpose of the code clearer. If you want to just grab the code and get on with it, that’s absolutely fine, but remember to paste the following blocks in reverse order :-)
So, without further ado, the final step in the chain is to create your sampler node definition add it to the assetRegistry (as we did with our asset itself), and start it playing:
(I’ve commented the objects here which are for the moment undefined, we’ll get to them in a second)
There’s a fair bit to discuss above, so I’ll start with a broad outline of what’s going on, and a couple of pitfalls we encountered while writing it, then move onto the specific configuration we’re providing and the options it affords. A common pattern in PHASE is that we don’t deal with the objects of its internal representation directly (for example Mixers, Nodes, Assets), but instead create definitions for each of them which are registered as assets, and then referenced by an identifier (allowing PHASE itself to handle the creation and destruction of the objects itself as needed). We see this above, instead of instantiating a Sampler node directly, instead we create a PHASESamplerNodeDefinition and register it with the assetRegistry, before creating a PHASESoundEvent (you can think of this like a cue, an instruction for something to happen within the audio environment) referring to that definition, and firing it by calling its start method.
The principle gotcha here, as before, is that the assetName of your sampler node definition must be non-nil and unique, and crucially, it exists in the same namespace as your sound assets and any other object you register with the assetRegistry, so it must be globally unique. As before, failing to do this leads to some very cryptic errors, so it’s a good thing to check first if you’re having problems.
There’s a couple of options here that give us useful fine-grained control over the behaviour of our audio environment, and we’ll run through those now. The sampler node definition’s playbackMode property defines whether a sample will play back as a loop or as a one-shot audio event before stopping - here we set it to loop indefinitely.
We call the setCalibrationMode method to set the calibration mode for sample playback - this is where we can set the overall level of the sound emitted by this node relative to others. Here we choose to do this by defining the relative SPL of the sound emitted by the node, and set it to 0dB.
Finally, we set the cullOption, which defines what PHASE does when a sound becomes inaudible (for instance because the user has moved outside the sound source’s radius). Here we have chosen that the sound should, in effect, continue indefinitely, inaudibly, muting and unmuting as necessary, with the imagined ‘start point’ being the point where the PHASE environment was started. There’s a bunch of options available here which can be used to interesting creative effect, including restarting the audio each time it comes into earshot, and starting randomly at a different point each time.
So, having described our sampler node definition, we now need to work our way back and look at its dependencies, of which there are two - the similarly-named (and related!) phaseSpatialMixerDefinition, and mixerParameters. Since we’re working backwards, I’m going to start with the mixer parameters, as it _also _depends on the spatial mixer definition:
The mixer parameters identify how a specific sound is mixed, for a given listener, within the environment. Here we pass in the PHASEListener we defined right back at the start, the PHASESpatialMixerDefinition that we will deal with shortly, and a PHASESource, which encapsulates the physical properties of the sound source within our world:
This is reasonably simple - we define a Source, which is made up of several PHASEShapes, each of which is defined by an MDLMesh which gives its shape and volume. A slight caveat at this point - in our fairly ad-hoc and subjective testing, we weren’t able to verify that changing the radius of this mesh had any effect at all on the sound itself (there are other parameters which affect the travel and diffusion of sound which we’ll get onto later). However, we didn’t look into this in a particularly detailed or rigorous manner, so your mileage may vary!
The other important thing to identify here is how you set the position (and scale, and rotation) of the object within the sound environment - by setting the transform of the source. This is one of the points where PHASE needs to integrate with whatever gameplay / xR framework you’re using, so we’ll highlight this and leave it undefined for now. The transform is expressed as an affine transformation matrix expressed as a simd_float4x4 - if this is starting to sound scarily mathematical to you (as it is to me, to be honest), there’s no need to panic - if you’re working with other Apple game and xR frameworks (such as ARKit or RealityKit) and attaching sounds to objects that exist within those (for instance visual assets or AR anchors), this is the same format as the transform property of those objects, so all you need to do is plumb them together. Be aware though, that depending on the lifecycle of your own application, you might not have this information available at the point where you instantiate the PHASE object graph, so you will likely need to keep a reference to this source object somewhere so that this can be updated later. At the end of this post, we’ll look in more detail into how this is done with ARKit as an example.
Having set up our mixer definition the only dependency that remains to sort out is our spatial mixer definition, which, however, comes with its own chain of dependencies we’ll build out as we go.
One thing that tripped me up here was the name of this particular object - from my heavily audio-engineering influenced perspective, you have one ‘mixer’ which handles mixing lots of different sources, and so initially I followed this intuition and created one spatial mixer definition which was shared between all my sources. This was frustrating because it meant that all the sources had the same parameters - FX sends, radius, level, etc. However, after some experimentation, I realised there’s no requirement for each source to share a spatial mixer definition - you can think of it more like a mixer channel or bus - you can create as many as are necessary - either one per channel, or one each for groups of sources that have the same properties. In our case, we create one per channel, which may not be the most efficient, but worked fine for our purposes:
So, the spatial mixer definition itself just links together two other objects, a PHASESpatialPipeline, and a PHASEDistanceModelParameters.
The PHASESpatialPipeline controls the various layers of how the environmental sound is built up, and you control it by passing it a set of Flags which control the layers of sound rendered - direct transmission (so the sound arriving directly at the ears of the listener from the source, early reflections, and late reverb. Here, we configure ours to add reverberation (recall we set the reverb preset on the engine earlier), and set the send level for this source:
So, the final piece of the jigsaw is the PHASEDistanceModelParameters, which is where we set the crucial properties that control the behaviour of our sound sources in the world we’re building:
The PHASEDistanceModelParameters class itself is an abstract superclass, and there’s a couple of concrete implementations we can choose from, allowing us to specify the behaviour of the sound source in different ways. Here we choose to use an instance of PHASEGeometricSpreadingDistanceModelParameters, which gives us a decent tradeoff of natural-sounding sound spreading, and ease of configuration, as it only has two parameters - the cull distance and rolloff factor. The cull distance is the distance (in metres) at which the sound becomes inaudible and stops playing (what happens when the user moves back into the source’s radius is defined by the cullOption we set earlier on our sampler node definition). The rolloff factor controls the steepness of the curve with which the sound level decreases over this distance - a value of 1.0 gives a halving of level with a doubling of distance, higher values give a faster decay, and lower values slower. Beware though that these parameters aren’t linked as such, and we found that particularly with small cull distances, we needed to manually tune a bit in order to avoid a very obviously audible hard cutoff at the cull radius. However, this was fairly easy to do, and much simpler than the other distance model parameters implementations, which allow you to, for instance, define an envelope over which the sound decays.
This completes the chain of dependencies for our sound source, so now, all being well, our project will compile, and if we’ve set the distance model parameters and positions of our source and listener such that the listener is in range of the source, we’ll hear some audio!
Without the ability to move our listener around though, the effect of all this setup is rather lost. Thankfully, at least from PHASE’s point of view, that is all very simple - you just set the transformproperty of our phaseListener object whenever the listener position updates. This, like the source position we saw earlier, is expressed as an affine transformation matrix expressed as a simd_float4x4. Of course, where you get this from, and where you choose to update the listener position, might be more complicated, and depends entirely on the environment in which you’re attempting to integrate PHASE. In our case, however, integrating with ARKit, this also turned out to be simple, assuming you’re already familiar with common patterns in iOS development, and the ARKit library. In our ARSessionDelegate, we needed to implement the session(_:didUpdate:) callback, from which it’s trivial to get the current transform of the listener in AR space from the frame object that’s passed in:
There’s one important caveat though - this transformation matrix does not take into account the rotation of the device at all, and, while it tracks position in-world accurately, the rotation around the head only works when the device is held horizontally, with the camera in the top left corner. This took ages to identify, and highlights a more general point - that it’s very difficult indeed to debug based purely on audio feedback - it’s easy to tell when something ‘sounds wrong’ or ‘isn’t working’, but quite hard to work out exactly what the issue is. For this reason, we recommend adding a simple visual debug mode to your app as early as possible if you’re working with audio-only experiences like us. In our case, the solution to this problem was to constrain the application to only display in landscape mode, and prompt the user to hold the phone in landscape while in the experience. This is far from ideal, but due to time constraints it was the pragmatic choice. However, with a little more time this should be easily solved - it should be possible to listen for the device rotation, then multiply the ARKit camera transformation matrix through a constant rotation matrix corresponding to the current rotation, before passing it into PHASE. I’ll leave this as an exercise for the reader for now, but will update this post if and when I get back into the project and fix this :-)
As a final bonus, I wanted to quickly show how to integrate the head tracking available in Apple headphones such as the Airpods pro, as this is very easily achieved (which came as a very pleasant surprise to us).
The head tracking information is available from the CoreMotion framework, via the CMHeadphoneMotionManager class:
At first glance there’s quite a lot going on here, but it’s actually very simple. In our view controller where we’re presenting the AR experience, we create a new headphone motion manager, as well as two simd_4x4 matrices, to store the current device position and headphone position respectively. In the onViewDidLoad callback we then request device motion updates from the headphone motion manager, passing in a callback which simply calls the handleHeadMovementfunction with the result. In the definition of handleHeadMovement, we have to do a little bit of song and dance to convert the CMRotationMatrix that Core Motion gives us to the simd_float4x4 that PHASE expects, which we then assign to the headphoneTransform variable we created earlier. Finally, we set our listener position to the device’s position multiplied by the head rotation, which, via the magic of linear algebra (and assuming the listener has their phone close by and roughly in front of them), gives us their listening position including the rotation of their head.
The only other change we need to make is to change our definition of session(_:didUpdate:) slightly, firstly to store the deviceTransform in an instance variable so we can get at it when the head motion callback is called, and secondly to apply the current head position transformation when the device position is updated too (this prevents glitches when the device position updates but the head position hasn’t yet updated).
So, that’s about it for now - you can see a demo of the finished experience in the video on our blog, and the code for it on Github (as well as some previous prototypes and experiments). If you’re within travelling distance of London, have a recent iPhone or iPad and would like to try out the experience, please get in touch with us, and we’ll let you know when we launch! Any other questions and comments are always very welcome and you can follow our updates here. If you need advice, consultancy, creative or development work done on an AR or spatial audio project, we’re available for hire! Thanks for reading.
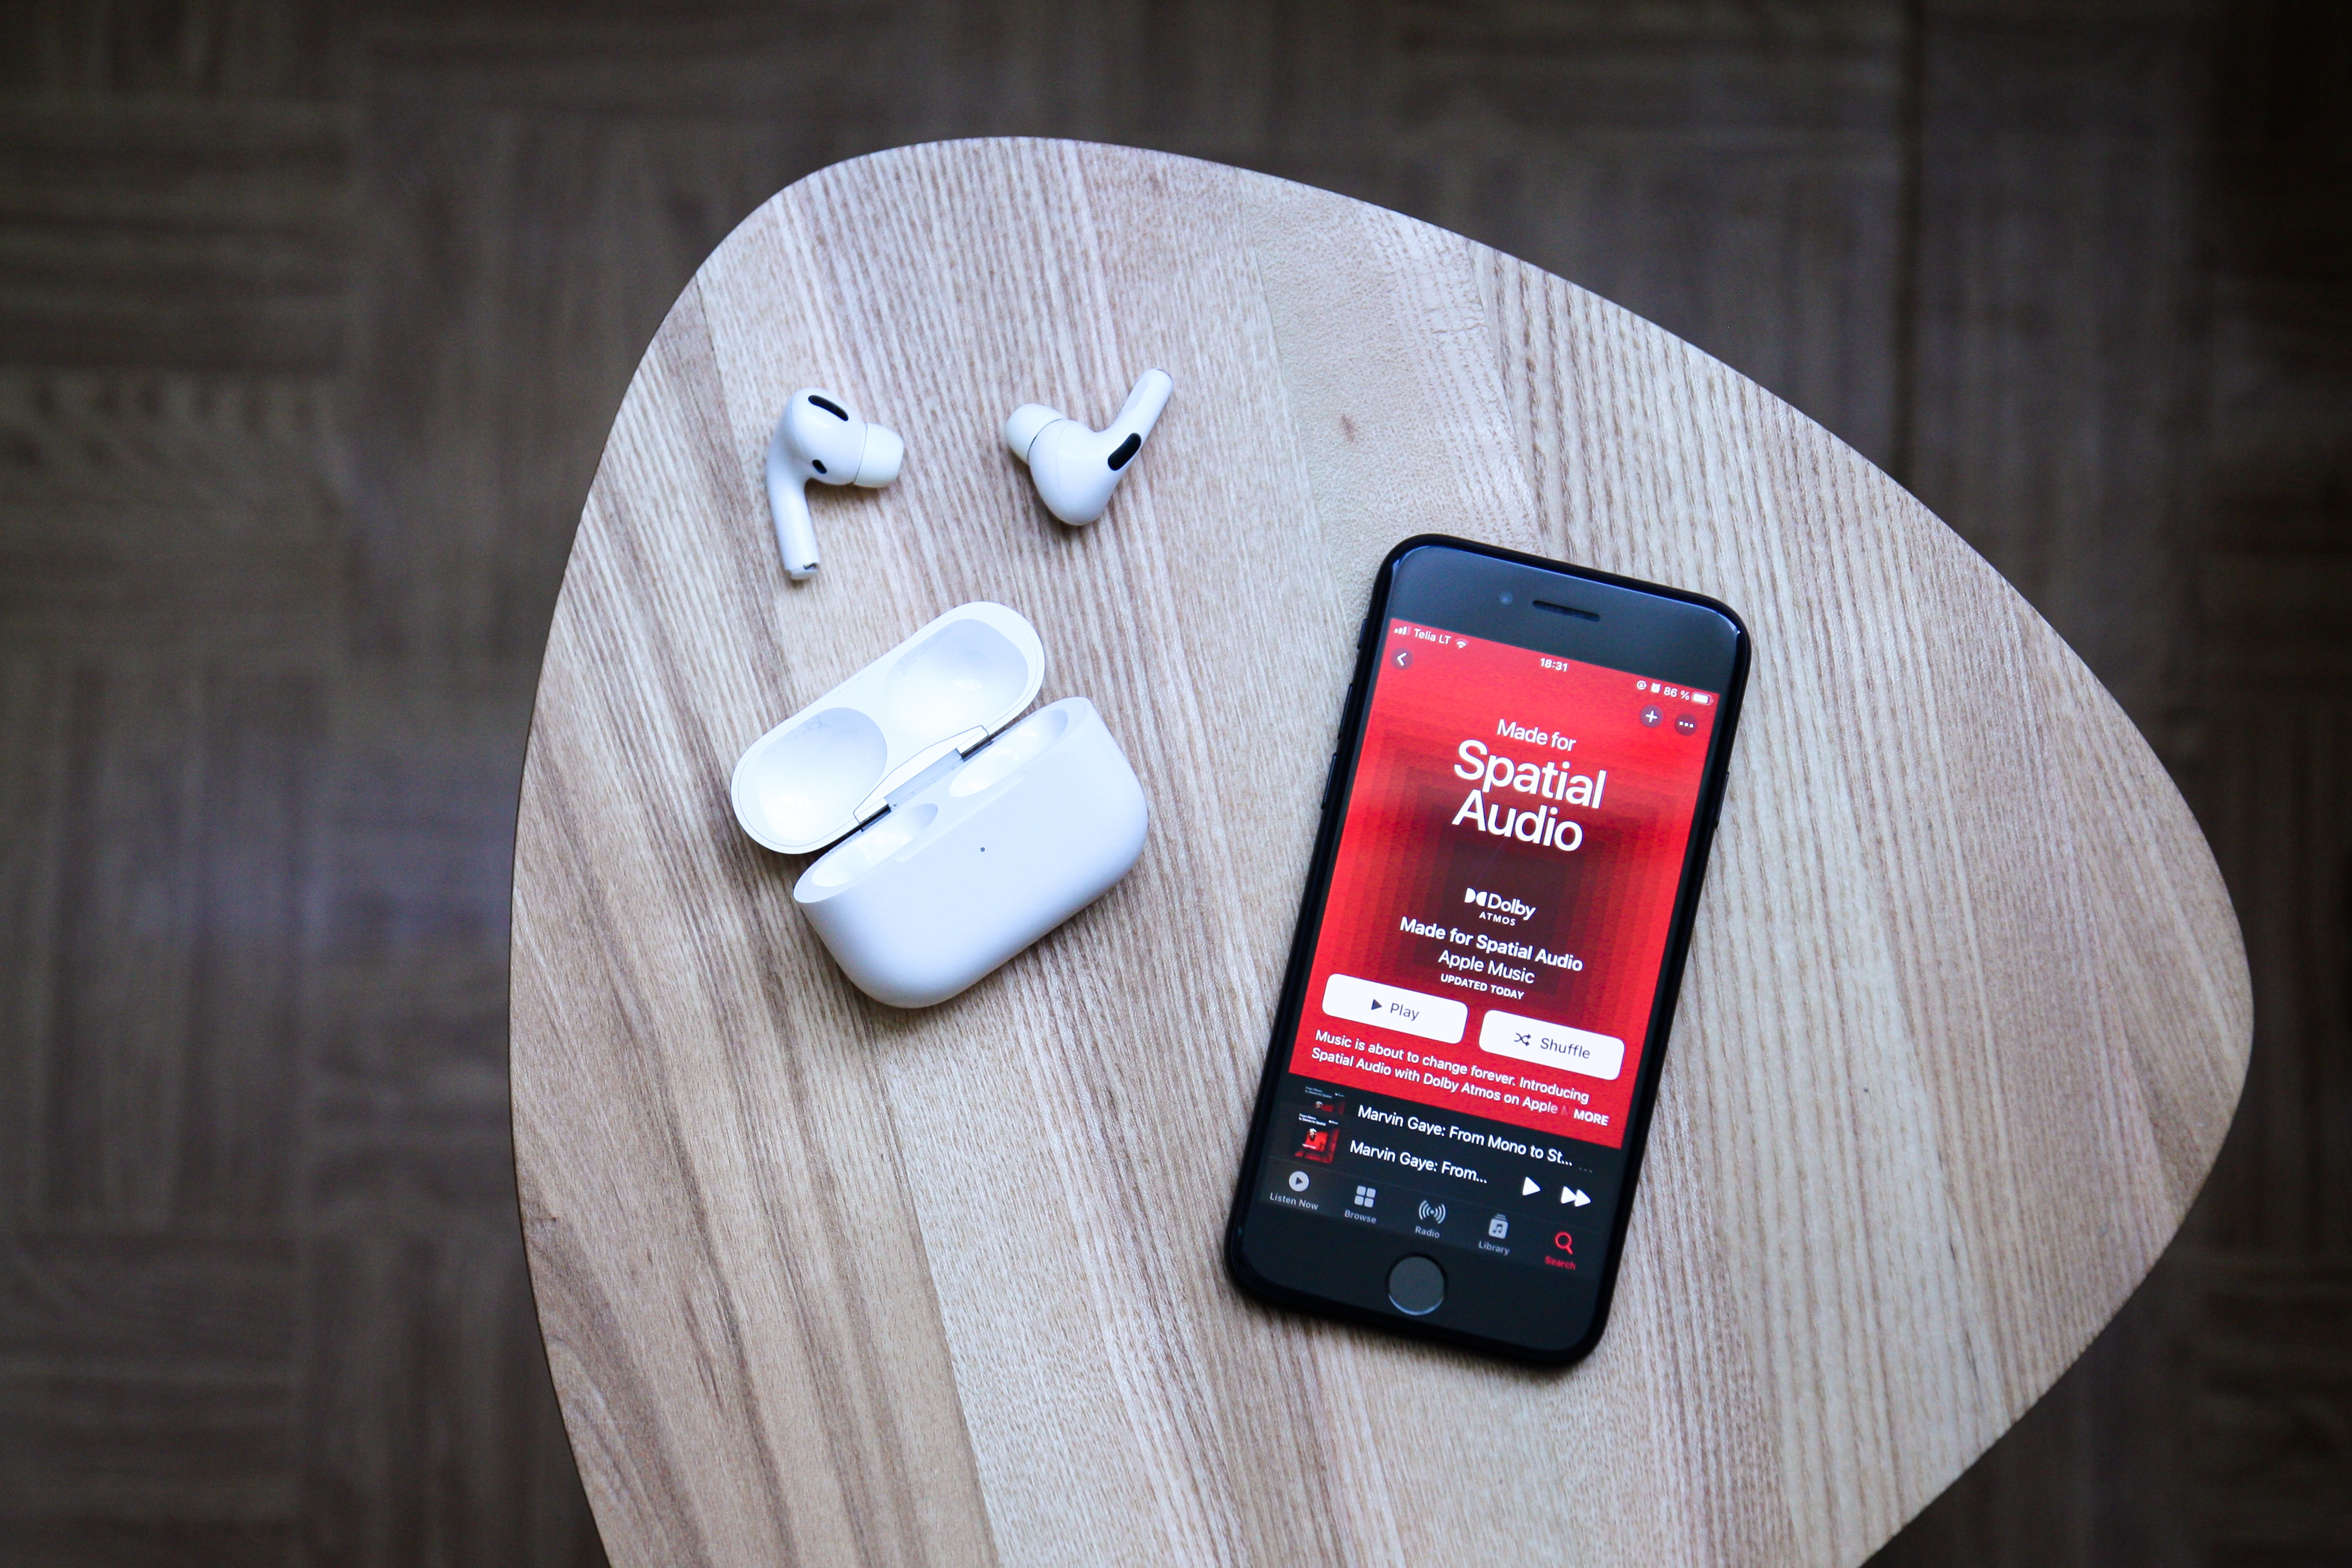
Photo credit Auguras Pipiras.
published on 02 Mar 2022
This project is gratefully supported by Innovate UK, the UK’s innovation agency.